By the end of our mini-project, my students knew more about slugs than I could ever have anticipated. We wrote a class book about slugs, and they blew me away with the facts they remembered and how they explained them. We published the book as a storywalk along the hallway to our classroom, interspersed with our slug art projects and a sign that read "Follow Our Slime Trail". This was a big hit at Family Night, and the kindergarteners especially like looking at it on their way to art and music.
This week, my class hosted our all-school Community Meeting. I used the Spark video app by Adobe to transform our storywalk into a video book. I took a photo of each page (right in the app), and had the kids record their own voices reading the pages they had produced. Add a little music, and voilà! An easy but impressive way to share what we had learned and make a more formal exhibition of our project to the whole school.
Saturday, October 21, 2017
Monday, September 18, 2017
Gotta Love Slugs
We went out to the playground to collect leaves as part of our tree project, and came back to the classroom with a tub full of slugs. Well, really, after we found the first one curled up in a tiny broken eggshell, how could we resist bringing them in for observation?
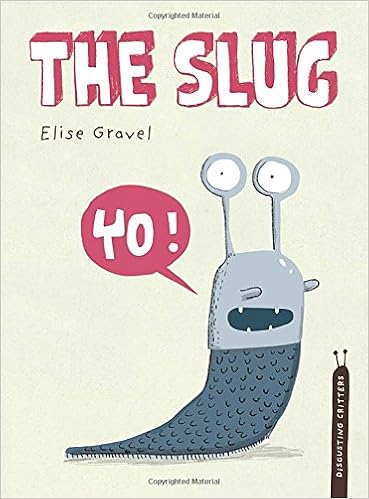
The kids were great about recognizing that the slugs were temporary guests so we could learn about them, not pets for us to keep or play with, and they wanted to make sure we took care of them properly. We read The Slug by Elise Gravel, part of her Disgusting Critters series. This immediately led into spontaneous scientific discussion of how to keep our slugs moist, what to feed them, etc.
I dug an old 10-gallon tank out of storage, and we used soil, moss, and bark from the playground to turn it into a small slug habitat.

We're currently misting the inside of the terrarium twice a day, and every couple of days we are changing out the food offered to the slugs (bananas, lettuce, leaves -- so far their favorite is cucumber). I was a little worried the habitat would dry out too much over the weekend, but when I came in this morning, I found the slugs snugly tucked away in dark, damp crevices of their bark condo.

So far, the slugs have been with us for about a week, and their popularity shows no signs of waning.

I'm planning a release party on Friday. Maybe we'll make model slugs and "slug" slime to celebrate!
The kids were great about recognizing that the slugs were temporary guests so we could learn about them, not pets for us to keep or play with, and they wanted to make sure we took care of them properly. We read The Slug by Elise Gravel, part of her Disgusting Critters series. This immediately led into spontaneous scientific discussion of how to keep our slugs moist, what to feed them, etc.
I dug an old 10-gallon tank out of storage, and we used soil, moss, and bark from the playground to turn it into a small slug habitat.

 |
| I love the layers of leaning bark - the kids designed that themselves, and it makes a perfect multi-level slug hideaway! |
We've taken the slugs out a couple of times for closer observation. I wear gloves and advise the kids not to touch the slugs, because we don't want to disrupt their mucus coating . . . but also because slugs think anything large coming toward them is a predator, and handling causes them to bundle into tight little defensive blobs that aren't very interesting to observe.

 |
| Students use a full-page reading magnifier to get a close-up view without disturbing their slug. |
The Bug Chicks have a fantastic video about slug anatomy on their Vimeo site.. We watched it twice (by popular request), then sketched diagrams of our slugs and labeled their body parts.
So far, the slugs have been with us for about a week, and their popularity shows no signs of waning.

I'm planning a release party on Friday. Maybe we'll make model slugs and "slug" slime to celebrate!
Thursday, July 13, 2017
Cooking in the Classroom: How to Make Pumpkin Muffins from Scratch
My students last year blew me away with their teamwork and responsibility during our cooking activities! We grow a Three Sisters Garden as part of our curriculum, and after we had harvested the garden, it was time to use all of that great produce. The kids brainstormed different foods they could make using our pumpkins, and voted on which recipe to make.
Click here to download the recipe we used.

Here's the step-by-step of how we made pumpkin muffins from scratch -- in the classroom!
1. Cut each pumpkin in half. Use your hands or a spoon to scoop out the seeds and stringy bits.


2. Separate the seeds and rinse them. Set them aside so you can roast them later.


4. Allow the pumpkin to cool, then scoop out the flesh and discard the rind.
***At this point, you can puree it in a food processor or blender to make it smoother. We chose to keep ours chunky.***

5. Gather your ingredients! I set up one table in the classroom for ingredients. I taped an index card with the name of the ingredient and the quantity needed for the recipe down to mark where on the table each item belonged. I also placed the appropriate measuring cups and spoons next to each ingredient.


 |
| One student marks off on the recipe as the group completes each step. |

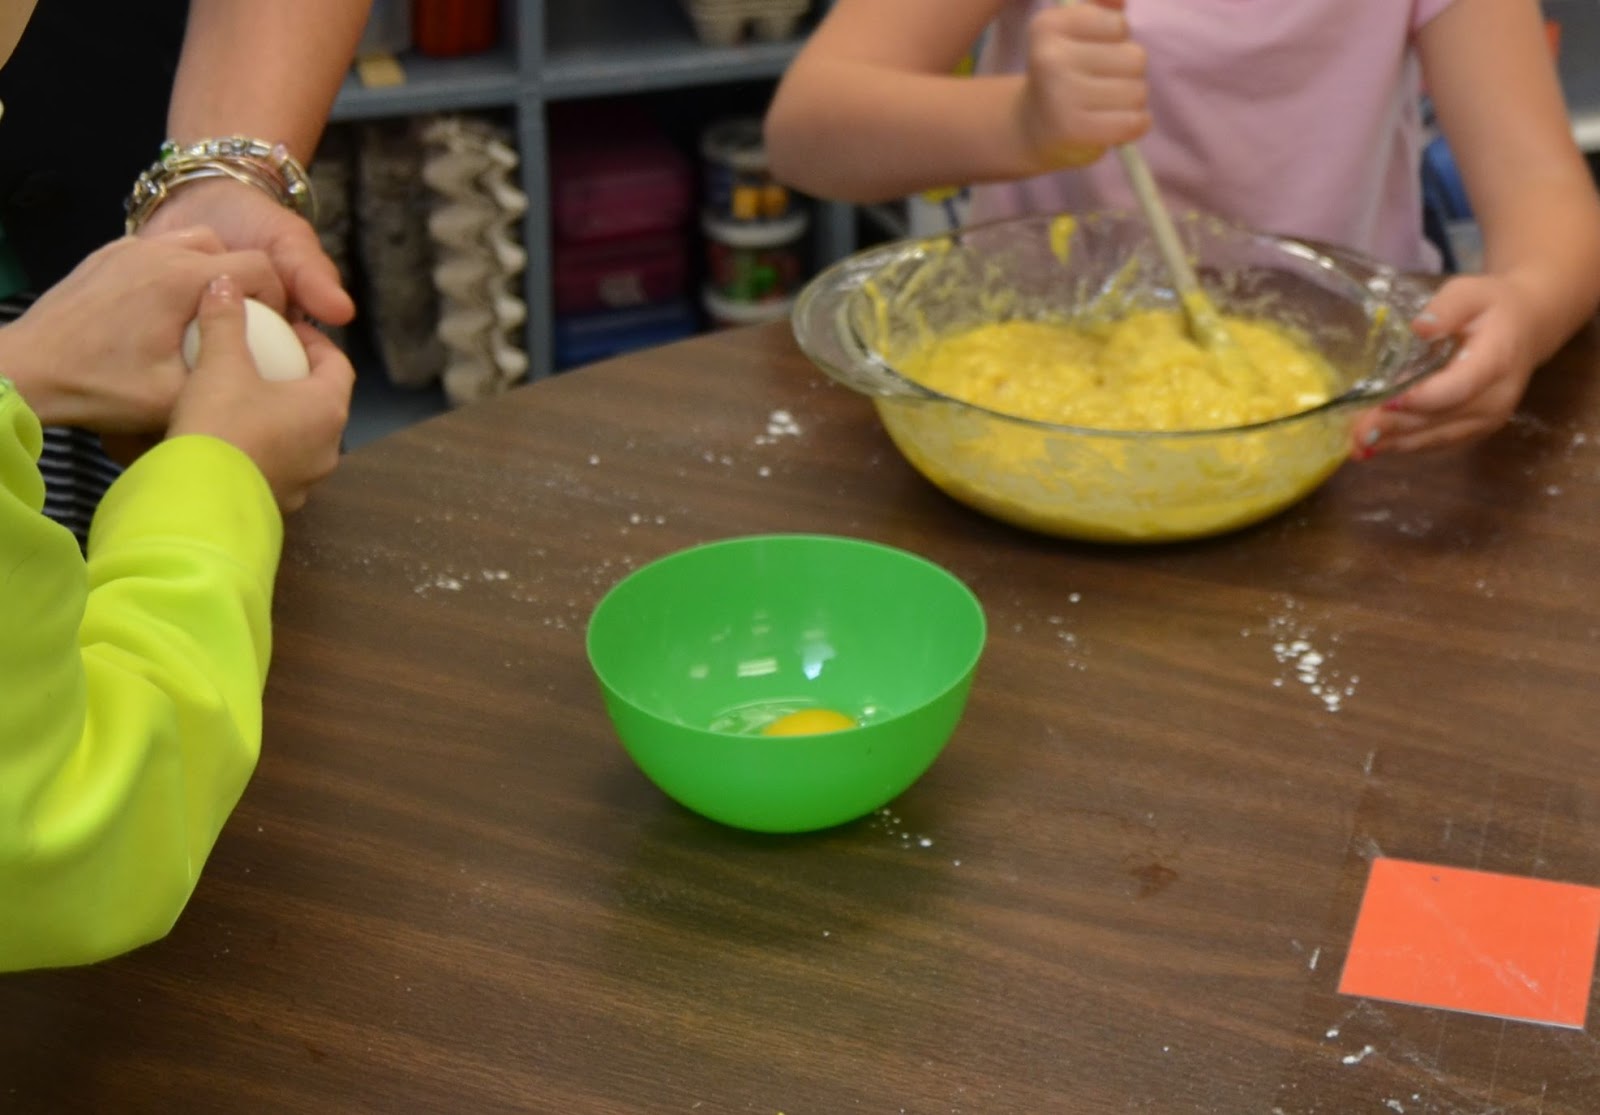 |
| An adult helps crack eggs into a small bowl before they are added to the batter. |


 |
| Because we were making a very large quantity of muffins (120+), we used Reynolds baking cups that could stand on their own. |


 |
| We had to be careful not to spill the batter as we arranged our muffin cups on the baking sheet! |

8. Bake and enjoy!
We had prepared and cooked the pumpkins on one day, then mixed and baked the muffins the next day. We also shared the muffins with the third grade class, since they were the kids who had planted the pumpkins with me last spring at the end of their year in second grade.
Tuesday, July 11, 2017
A Summer Obsession
I am currently obsessed with trees. When I started teaching about plants in second grade, I was flabbergasted by how many of my students couldn't name any of the trees on our playground except for the pines -- and we live in foresty Vermont!
Last year I did a tree video project with my class using the Adobe Voice iPad app (now called Adobe Spark). In pairs, the kids chose a tree on the playground to photograph, used books in the classroom to identify it, and made a video describing its leaves, bark, and seeds. Three days into the project, one boy came to me very distressed that he couldn't find any "helicopter seeds" around his maple tree. "All there is is acorns," he complained. I investigated, and sure enough, there were no helicopter seeds and many, many acorns . . . because his tree was really an oak.
As we move toward Project Based Learning in our district, I am planning to focus my first project around trees. We have a trail system that connects all of the schools in our district, and my class is going to create a field guide or series of signs to teach hikers about the different species of trees on our trails. At least, that's my current vision . . . there are absolutely NO field guides designed for emergent or early fluent readers, so we're going to have to get creative and do a lot of hands on and visual explorations to learn about how to identify trees.
In the meantime, I'm taking lots rambles in the woods, reading lots of field guides, and trying not to drive my family crazy talking about "alternate composite" or "simple lobed" leaves all the time.
 |
| Looking for seeds on our school trail system |
Last year I did a tree video project with my class using the Adobe Voice iPad app (now called Adobe Spark). In pairs, the kids chose a tree on the playground to photograph, used books in the classroom to identify it, and made a video describing its leaves, bark, and seeds. Three days into the project, one boy came to me very distressed that he couldn't find any "helicopter seeds" around his maple tree. "All there is is acorns," he complained. I investigated, and sure enough, there were no helicopter seeds and many, many acorns . . . because his tree was really an oak.
 |
| With Voice/Spark, we could take pictures of our trees right in the app, then add captions and voiceovers. |
As we move toward Project Based Learning in our district, I am planning to focus my first project around trees. We have a trail system that connects all of the schools in our district, and my class is going to create a field guide or series of signs to teach hikers about the different species of trees on our trails. At least, that's my current vision . . . there are absolutely NO field guides designed for emergent or early fluent readers, so we're going to have to get creative and do a lot of hands on and visual explorations to learn about how to identify trees.
 |
| Rough, grayish-brown bark, dry sticks left behind where old branches have fallen off. Any guesses what kinds of trees we have here? |
Subscribe to:
Comments (Atom)
-
By the end of our mini-project, my students knew more about slugs than I could ever have anticipated. We wrote a class book about slugs, an...
-
 My students last year blew me away with their teamwork and responsibility during our cooking activities! We grow a Three Sisters Garden as...
 -
We went out to the playground to collect leaves as part of our tree project, and came back to the classroom with a tub full of slugs. Well,...
